I'm posting a portion of a newspaper cooking column I wrote last year ... during the time that I was teaching over 1,000 students how to cook using locally grown produce. Our youngest students were 3 year old preschoolers and our oldest student was 87. She probably taught me more than I taught her! We also had several International students ... so we were teaching folks what to do with fruits and vegetables ... with which they were unfamiliar!
-------------------------------------------------------------------------------------------------
People frequently ask me what I do with the herbs I
grow. I like to joke about my little
pot garden in the backyard. Of course,
I’m talking about my collection of little red flower pots that hold a wide
variety of herbs! I have my
favorites. rosemary and basil are at the
top of that list, but I always grow sage so I can freeze whole leaves to use
under the skin of my Thanksgiving turkey and I grow plenty of mint to use in
baking and beverages. This year I planted
chocolate mint and it adds an incredible flavor to cakes, cookies and
beverages. It tastes just like a
chocolate mint candy. I also grow plenty
of dill for pickling, chives for seasoning potatoes and salads and the standard
herbs use in cooking Italian, including thyme and oregano. Pineapple sage is another favorite and I use
it in fruit salads and I add it to meat marinades. It is especially good to flavor chicken and
pork. I freeze lots of herbs, so I have them in the wintertime because my green
thumb abilities are limited and I can never keep them growing in the house! I make jams and jellies using herbs. Thyme adds a unique flavor to apple jelly;
mint will hold its own in, so I just steep it in hot water and make mint jelly;
and basil, especially the dark purple basil, adds a wonderful spike of flavor
to grape wine jelly.
Cooking with herbs is all about being creative and adding
flavor to your food. Don’t expect to get
any significant dose of nutrition from herbs.
They contain a little bit of Vitamins A and C and some contain iron …
but none in enough quantities to make much difference. So, depend on herbs to help you create
enhanced flavors that will entice your family to enjoy eating. Herbs
are fun to grow and children enjoy watching the plants get big and they enjoy
the harvest, so use them to encourage the little ones in your life to take
interest in preparing foods. Sometimes
the fact that they help grow and prepare foods, will encourage them to
eat!
Today, I’m sharing a full menu of recipes prepared with
fresh herbs … from an appetizer to dessert!
Every course infuses a different flavor, so you’ll enjoy the
variety. I’ve spent the summer enjoying
plain old water, infused with fruits and herbs, so we’ll start with that. Then we’ll enjoy flavorful roasted hickory
nuts, and I’m the very lucky recipient of local hickory nuts that a friend
picked out for me. I used part of them
last fall and saved some for a special occasion. I think this must be the occasion. I’ll never tell where he finds them for fear
of never getting anymore! We’ll have a
savory salad dressing to top your favorite lettuce or just to drizzle over
cucumbers or tomatoes. I’ve included a
succulent Asian chicken recipe that is great served over rice or noodles. I encourage you to use boneless skinless
chicken thighs instead of breasts because they are so flavorful and
tender. We’ll end with a calorie rich
pound cake flavored with pineapple and pineapple sage. You can top a piece with vanilla bean ice
cream, dip chunks of the cake in your favorite chocolate fondue or just enjoy
it plain with a good cup of coffee! Plain with coffee is my favorite way to enjoy
it!
I hope you’ll try these recipes. If you don’t grow your own herbs, you can
find fresh herbs at our farmers’ markets or our orchard retail stands. Use fresh; buy local and enjoy really good
food!
Plain Old Water
I’m not a soda drinker, but I like the fizz of carbonation,
so I bought one of those soda maker machines.
I tossed all the syrups that came with it because they are nothing but
sugar, but I love to add fizz to my plain old water! If you don’t have one of those, not to
worry. This recipe works without the
fizz!
Muddle a cup of mixed berries, fresh or frozen and put them
in the bottom of a quart jar. Add a few
sprigs of rosemary and thyme and press the herbs against the fruit. Fill the jar with water and put a lid on
it. Refrigerate it overnight for the
best flavors. Drink it iced cold and
don’t waste the fruit. I usually fill
that jar three times before I eat the fruit!
You can use almost any fruit with exception of bananas. Save those for your smoothies! Lemons, limes, peaches, apricots, plums,
strawberries, oranges and apples … all work well!
Chocolate Mint
Hickory Nuts
Pecans, walnuts or almonds work just as well as hickory
nuts. Combine ¼ cup of Southern Illinois honey with
½ stick of melted butter. Place 2 cups
of nuts on a baking sheet and drizzle the honey/butter over them. Chop chocolate mint leaves (or plain mint)
until you have ½ cup and sprinkle these over the nuts. Toss the nuts to coat them well. Bake them for 8 – 10 minutes in a preheated
350 degree oven. Watch them carefully,
so they don’t scorch because the size of the nut pieces impacts the length of
time it takes for them to roast. They
will be sticky when they are done. Let
them cool on the baking sheet, then toss them in ½ cup of cocoa power mixed
with ½ teaspoon of sea salt. The salt
brings out the flavors of the honey and the chocolate.
Creamy Tarragon Salad
Dressing
In a blender, combine ¼ cup of olive oil with 2 Tablespoons
of Dijon mustard and 2 Tablespoons of white vinegar. Add 2 Tablespoons of fresh tarragon leaves
and blend until smooth. Add a dash of
salt, a few grinds of fresh pepper, a pinch of sugar and ¼ cup of your favorite
mayonnaise. Blend again and serve with
salad ingredients. This is also good
over cooked root vegetables like carrots, turnips, parsnips and little
potatoes.
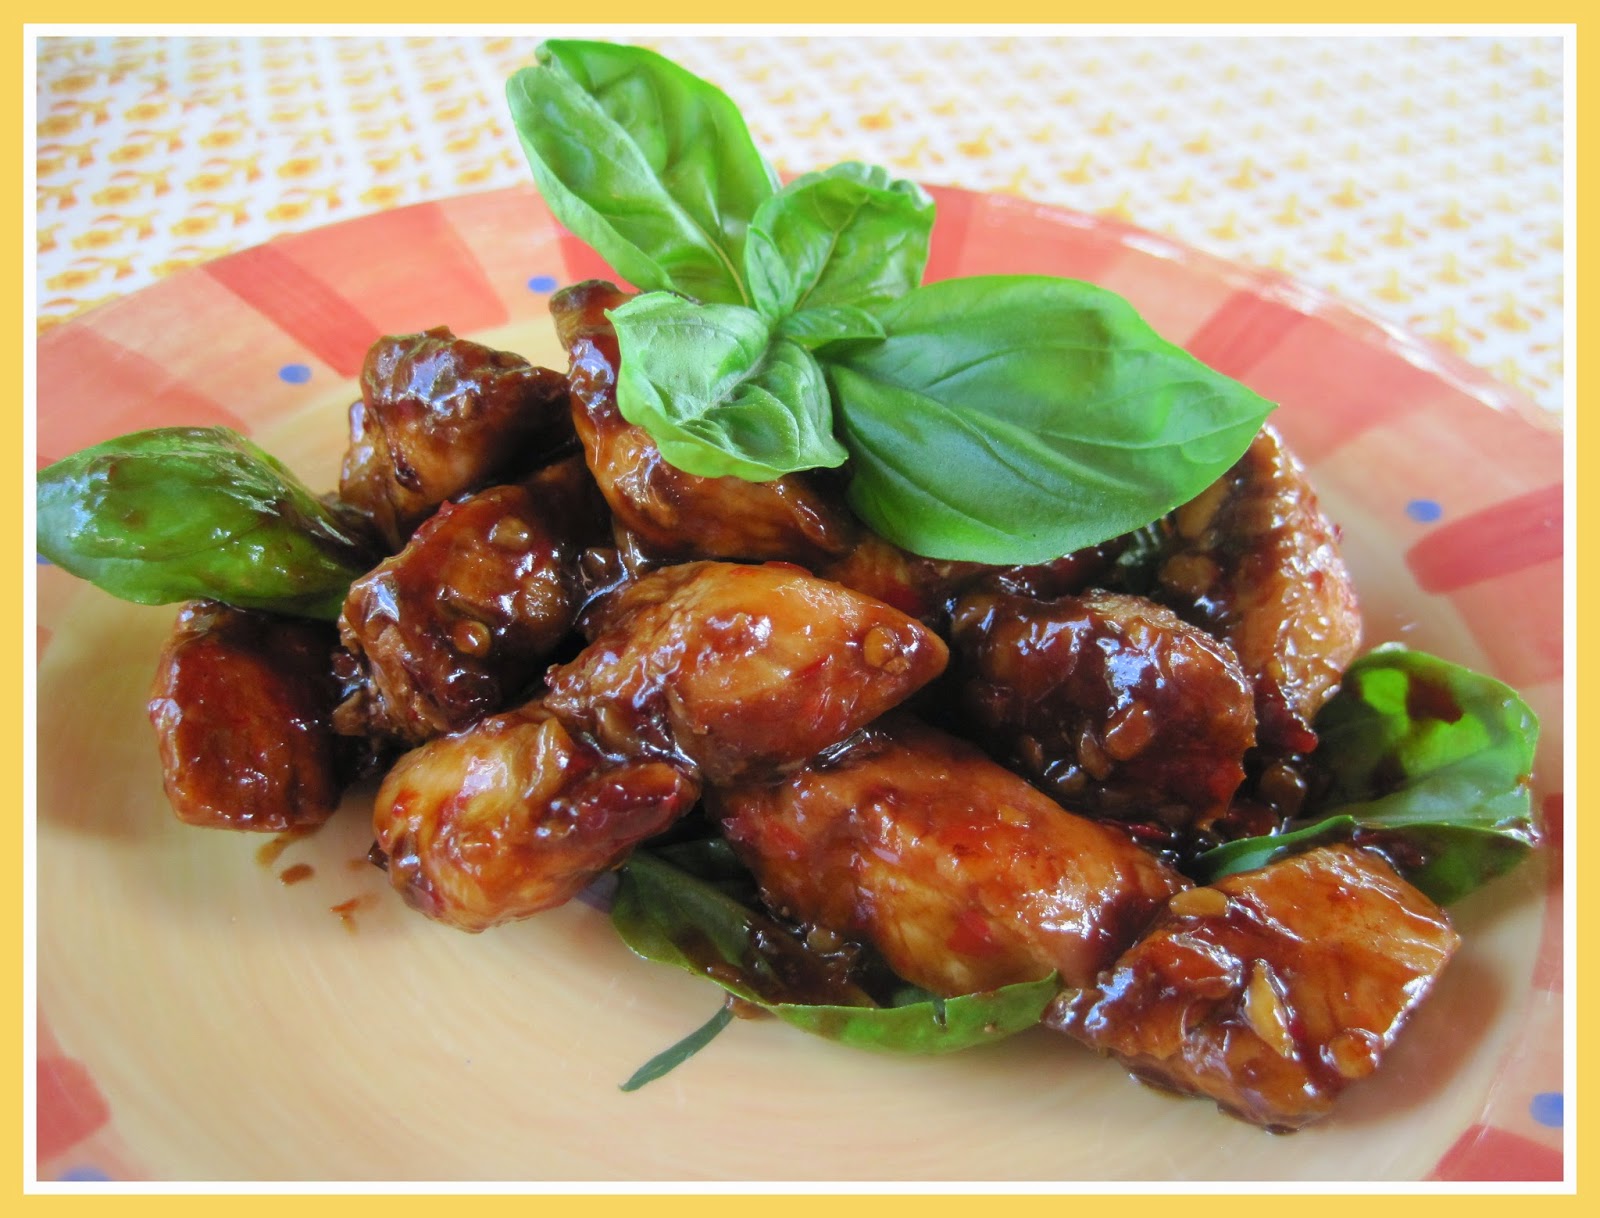
Spicy Basil Chicken
6 boneless, skinless chicken thighs
¼ cup finely chopped onion
2 teaspoons chili pepper paste
2 teaspoons garlic paste
2 Tablespoons fish sauce
2 teaspoons soy sauce
Up to 1 cup of fresh basil leaves
Cut the chicken thighs into bite size pieces. In about 2 Tablespoons of canola oil, brown
the chicken until the flesh begins to caramelize. Add the onion, chili pepper paste, garlic
paste, fish sauce and soy sauce.
Continue to cook the meat over a low heat until it is done. Just before serving, add the fresh basil
leaves and stir the chicken, so the leaves adhere to the pieces. Serve with rice or noodles.
Pineapple Sage Pound Cake
1
cup soft butter
1
cup sugar
1/4
cup honey
5 eggs
3
Tablespoons pineapple sage leaves, chopped
1
teaspoon lemon extract
1
8-ounce can of crushed pineapple
1
teaspoon baking powder
3
cups flour
Use
your electric mixer and cream the butter, honey and sugar until fluffy. Add the eggs, one at a time and beat well
after each addition. Beat in the crushed
pineapple and the juice, the sage leaves and lemon extract. Mix the baking powder and the flour together,
then add to the batter about a third at a time.
Whip until creamy. Pour the
batter into greased and floured miniature loaf pans or small Bundt cake
pans. Bake in a preheated 325 degree oven for 45 –
50 minutes. Check the cakes with a
toothpick before removing them from the oven.
When they are done, let them cool for 10 minutes before inverting them.
I might be sharing my post with some of these parties! Click through to visit the other posts ... but visit my home page, first, so you can see my other posts.

.jpg)